NVR302-16S-P16 UNV 8MP 16Ch 2SATA PoE 4K NVR
NVR302-16S-P16 UNV 8MP 16Ch 2SATA PoE 4K NVR
Video/Audio Input
-
- IP Video Input – 16Ch
- Two – way Audio Input – 1-ch,RCA
Network
-
- Incoming Bandwidth – 112Mbps
- Outgoing Bandwidth – 96Mbps
- Remote Users – 128
- Protocols – P2P,UPnP,NTP,DHCP,PPPoE, SSL, TLS, HTTPS
Video/Audio Output
-
- HDMI: 3840X2160/(4K),1920x1080p, 1600×1200, 1280×1024,1280×720,1024×768
- VGA: 1920X1080, 1600×1200, 1280×1024, 1280X720, 1024×768
- Recording Resolution – 8MP/5MP/6MP/4MP/3MP/1080p/960p/720p/D1/2CIF/CIF
- Audio Output – 1-ch,RCA
- Synchronous Playback – 16Ch
- Corridor Mode Screen – 3/4/5/7/9/10/12/16
Decoding
-
- Decoding format – Ultra 265/H.265/H.264
- Live view/Playback – 8MP/5MP/6MP/4MP/3MP/1080p/960p/720p/D1/2CIF/CIF
- Capability – 1x4K@30,1X6MP@30,1X5MP@30,2X4MP,4X1080p@30,8x720p@30,16xD1
Hard Disk
-
- SATA – 2 SATA interface
- Capacity – up to 8TB for each disk
Smart
-
- VCA Detection – Face Detection, Intrusion, detection, Line Cross detection, Audio detection, Defocus detection, Scene change detection, Auto tracking
- VCA Search – Face Search, Behavior Search
- Statistical Analysis – People Counting
External Interface
-
- Interface – 1RJ-45 10M/100M/1000M Self – adaptive Ethernet Interface
- USB Interface – Rear panel;1xUSB2.0,1XUSB2.0
PoE
-
- Interface – 16 independent 100 Mbps PoE network interfaces
- Max Power – Max 30W for single port, Max 240W in total(15W for each)
- Supported Standard – IEE 802.3at
General
-
- Power Supply – 220V AC, Power Consumption: ≤9 W (Without HDD)
- Working Environment – -10°C ~ + 55°C (+14°F ~ +131°F),, Humidity ≤90% RH(non – condensing)
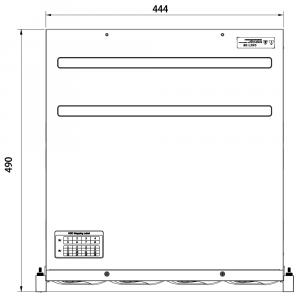
- Dimension (WXDXH) – 380mm X 315 mm x 49.1 mm(15.0”x9.4”x12.4”X1.9”)
- Weight (Without HDD) – < 2.4Kg (5.29 Ib)
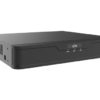
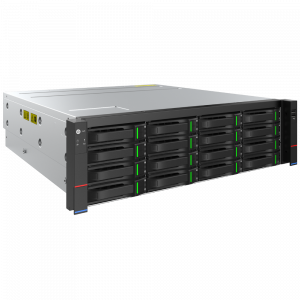
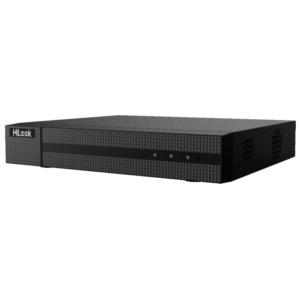
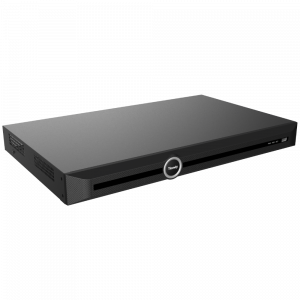
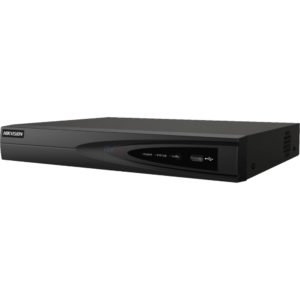
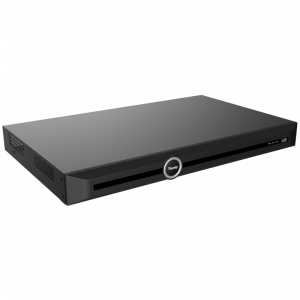
NVR302-16S-P16 UNV 8MP 16Ch 2SATA PoE 4K NVR Isometric View

NVR302-16S-P16 UNV 8MP 16Ch 2SATA PoE 4K NVR

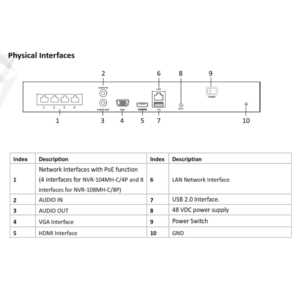
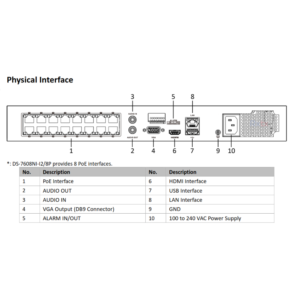
NVR302-16S-P16 UNV 8MP 16Ch 2SATA PoE 4K NVR Rear View

Note: Model: NVR302-16S-P16 have 16 PoE Ports
NVR302-16S-P16 UNV 8MP 16Ch 2SATA PoE 4K NVR Dimensions

Additional Information
Default IP, Username and Password
-
- Default IP address: 192.168.1.30
- Default admin username: admin
- Default admin password: 123456 (intended only for first-time login and should be changed to a strong one with at least 8 characters including upper and lower case letters, digits and symbols for security)
Startup
-
- Verify installation and cable connection are correct. Connect to power and then turn on the power on/off switch (if applicable). Follow the wizard to complete the basic setup after the NVR starts up.
Live View
-
- Click Menu > Camera > Camera. The discovered cameras are listed. Click to add a camera. To search a network segment, click Search. If a camera is added but live video is not available, check network connection and make sure the correct camera username and password are set in the system. Modify if necessary.
Playback
-
- Right-click a preview window and then choose Playback to view video recorded on the current day. A 24/7 recording schedule is enabled at delivery and can be edited under Menu > Storage > Recording.
Access Using a Web Browser
-
- Access the NVR using a Web browser (e.g., Internet Explorer) from a connected computer.
1. Enter the NVR’s IP address in the address bar and then press Enter. Install the plugin as prompted. Close all Web browsers when the installation starts.
2. Open the Web browser and log in with the correct username and password.
- Access the NVR using a Web browser (e.g., Internet Explorer) from a connected computer.
Access from Mobile App
-
- Scan the QR code on the NVR device to download the mobile app. Install the app and sign up for a cloud account. Use the app to scan the QR code again to add the NVR. And then you can access your NVR from your mobile phone anytime anywhere.
- Note: Make sure your NVR is connected to a router with Internet connection. If the app is not available by scanning the QR code, please contact your local dealer.
Shutdown
-
- Use the Shutdown menu instead of by disconnecting power or turning off the power on/off switch. A sudden power failure may cause device damage and loss of data.
Multicast
-
- Multicast can be used to realize live view when the number of
connecting Web clients exceeds the limit the NVR can accommodate.
1. Click System > Network > Multicast.
2. Select the check box to enable multicast, and then enter the
multicast IP and port number.
3. Click Apply to save the settings.
4. Log in to the Web client and set Live View Protocol to Multicast
under Setup > Client
- Multicast can be used to realize live view when the number of
NVR302-16S-P16 UNV 8MP 16Ch 2SATA PoE 4K NVR

NVR302-16S-P16 UNV 8MP 16Ch 2SATA PoE 4K NVR, Support Ultra265/H.265/H.264 video formats, 8/16-channel input, ANR Technology
Product SKU: NVR302-16S-P16 UNV
Product Brand: UNV Uniview
Product Currency: AUD
Product Price: 551
Price Valid Until: 2021-09-30
Product In-Stock: InStock
4.4
Table of Contents






Reviews
There are no reviews yet.